

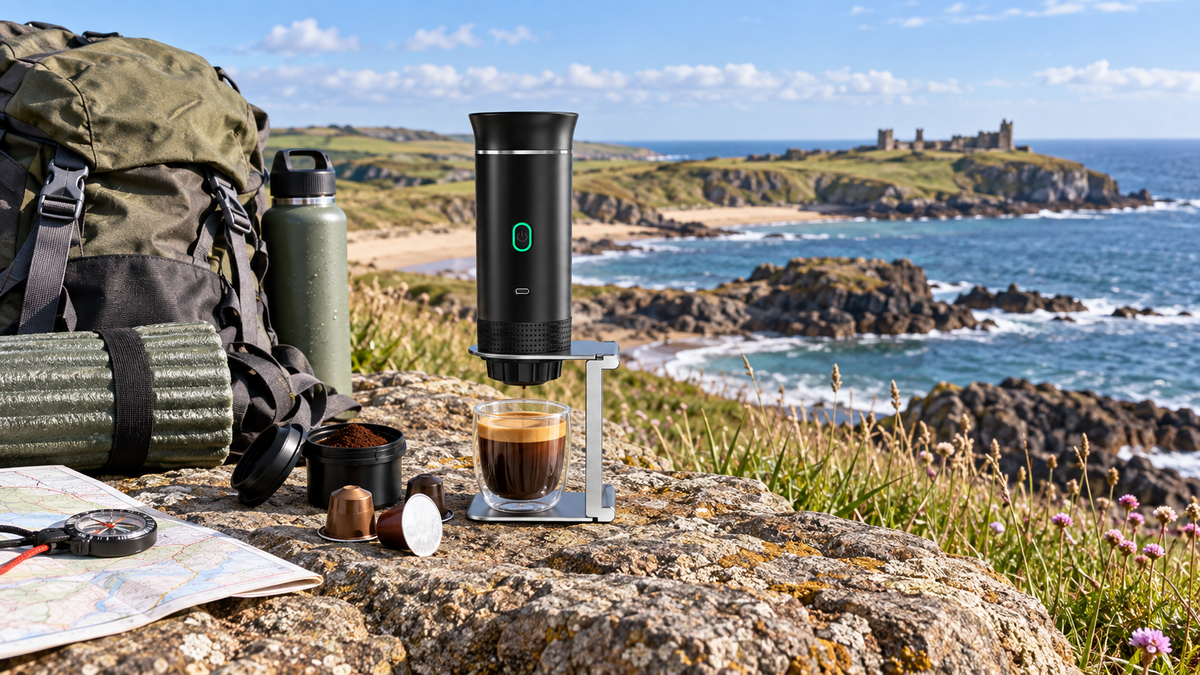
A good hiking coffee setup should improve the stop, not dominate the walk. You need enough kit to make the drink you want, but not so much that every climb reminds you what is in the rucksack.
The useful question is not “How do I take my entire coffee routine outdoors?” It is “What is the simplest setup that will make me glad I carried it?”
Below is a practical packing guide for day walks, easy hikes and viewpoint coffee stops around the UK.
The quick hiking coffee checklist
- A compact portable coffee maker
- Pre-measured coffee
- Enough drinking water for the walk and the brew
- Hot water in an insulated flask, or suitable water-heating equipment
- A cup if your brewer does not include one
- A spoon or stirrer if needed
- A sealable waste bag
- A small cloth for drips and drying
That is the core kit. A coffee grinder, protective case and extra accessories can be worthwhile, but only when they suit the length and style of the walk.
Choose your hiking coffee method
Option 1: Carry hot water
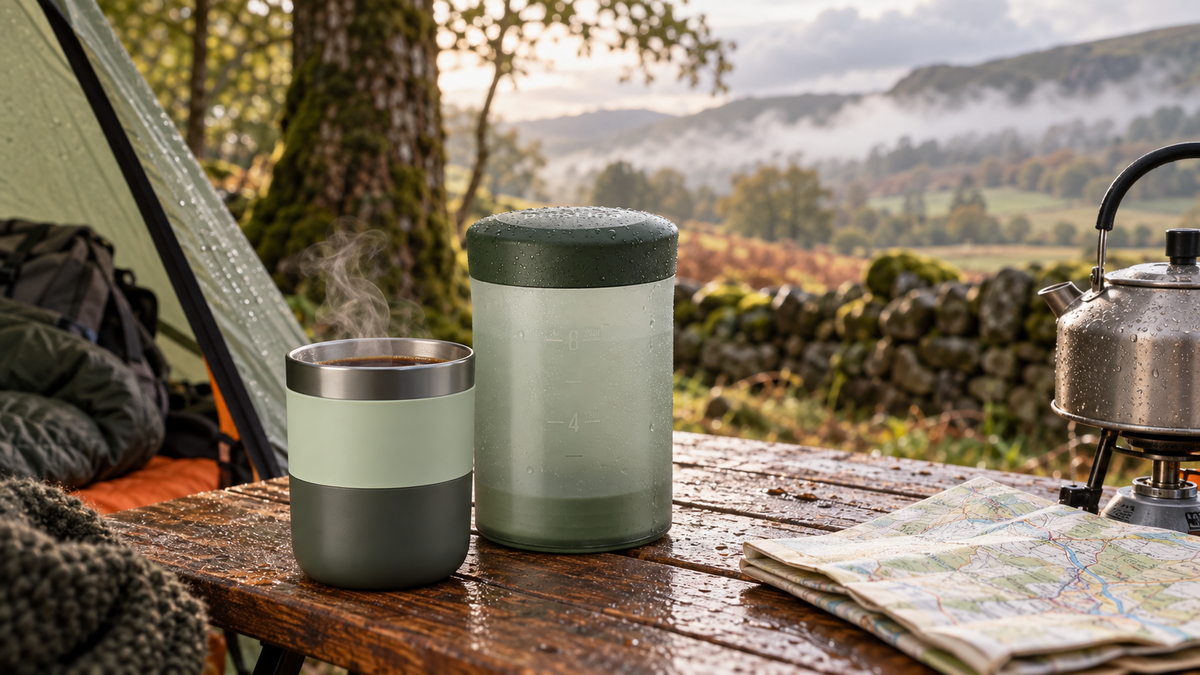
For a day walk, bringing hot water in an insulated travel flask is often the most straightforward option. There is no stove to set up at the viewpoint, and you can choose a sheltered place without worrying about a flame.
The trade-off is the weight and bulk of the flask. It works particularly well for short walks, roadside viewpoints and routes where comfort matters more than keeping every gram down.
Option 2: Heat water during the walk
This gives you fresh hot water when you stop, but it adds a stove, fuel, pan or kettle and extra setup time. Use equipment intended for outdoor cooking, follow its instructions, choose a stable location and observe local restrictions. Never use a camping stove inside a tent or an enclosed space.
Option 3: Bring the coffee ready-made
The lightest brewing equipment is no brewing equipment. Prepare coffee before leaving and carry it in an insulated mug or flask. You lose the pleasure of making the coffee at the stop, but gain speed and simplicity.
How much coffee kit should you carry?
For a short solo walk, a compact brewer and pre-ground coffee usually make more sense than bringing beans, scales and a grinder. For a relaxed group walk or campervan-based route, the extra equipment may be worth it.
Ask four questions:
- How far will I carry it?
- How many drinks am I making?
- Will I have shelter from wind and rain?
- Do I want the quickest possible stop or the full brewing experience?
A portable coffee press with its own cup helps reduce loose pieces. A portable espresso maker can suit shorter, concentrated drinks, but remember to include any charging, capsule or grounds accessories in the total packed setup.
Pre-ground coffee or a travel grinder?
Pre-ground coffee wins on convenience. Portion it into a small sealed container before leaving, and there is nothing to measure or grind on the hill.
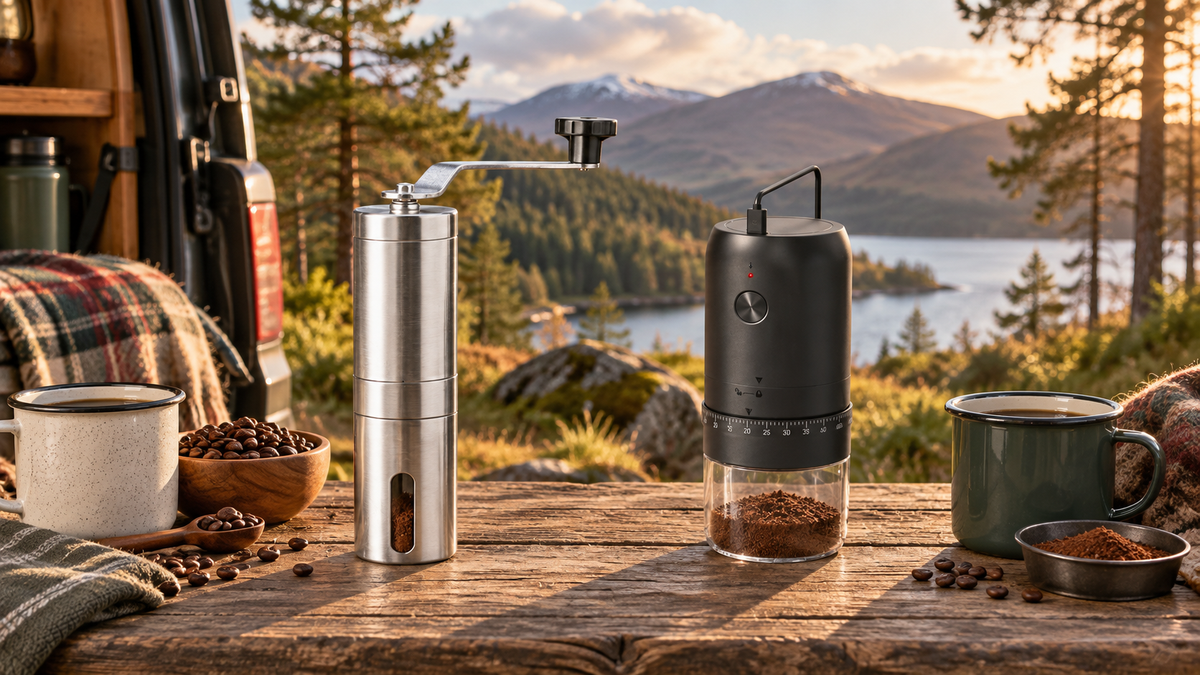
A grinder makes sense when the act of preparing the coffee is part of the break. A manual coffee grinder requires no battery and keeps the setup independent of power. A USB-C rechargeable grinder reduces the physical effort but must be charged and protected from wet conditions.
For one quick cup, pre-ground coffee is usually enough. For a campsite morning, a group stop or a weekend based around the van, freshly grinding beans may feel worth the extra space.
Pack the setup as one unit
Small coffee items have a habit of finding separate corners of a rucksack. Keep the brewer, coffee, spoon and clean-up cloth together. Protective cases and padded travel bags can stop hard equipment knocking against other kit and make it easier to lift the entire setup out at once.
Place water close to your back and keep frequently used items near the top. If the ground is wet, a small sit mat or clean cloth creates a stable surface for arranging the kit without covering it in mud.
Plan the stop before you need it
Look for a stable, sheltered place away from the path. Avoid blocking gates, narrow trails or viewpoints other people are trying to enjoy. In windy conditions, choose a lower and more protected stop rather than balancing equipment on an exposed edge.
Allow enough water for drinking as well as coffee. Caffeine does not replace hydration, and your brew water should not leave you short for the route home.
Leave the place as you found it
Carry a sealable bag for grounds, capsules, filters and packaging. Even biodegradable-looking items should not be left beside the trail. Wipe equipment before packing it, then clean it properly when you return.
The best outdoor coffee stop leaves behind nothing more than a brief patch of warmth where the cup sat.
Hiking coffee FAQs
What is the easiest way to make coffee while hiking?
For many day walks, the easiest method is to carry hot water in a flask and use a compact manual brewer. If speed matters most, carrying coffee already prepared is simpler still.
Is a portable espresso maker suitable for hiking?
It can be, particularly for shorter routes or when you prefer a small concentrated drink. Check the complete packed weight, compatible coffee format, water needs and charge before setting out.
Do I need a coffee grinder for a day hike?
No. Pre-grinding and portioning the coffee at home saves space and time. Take a grinder only when freshly grinding beans is important enough to justify the extra item.
Build the stop around your route. Browse the compact coffee press, insulated flask and bottle carrier for practical ways to take the good coffee with you.

Leave a comment
This site is protected by hCaptcha and the hCaptcha Privacy Policy and Terms of Service apply.