

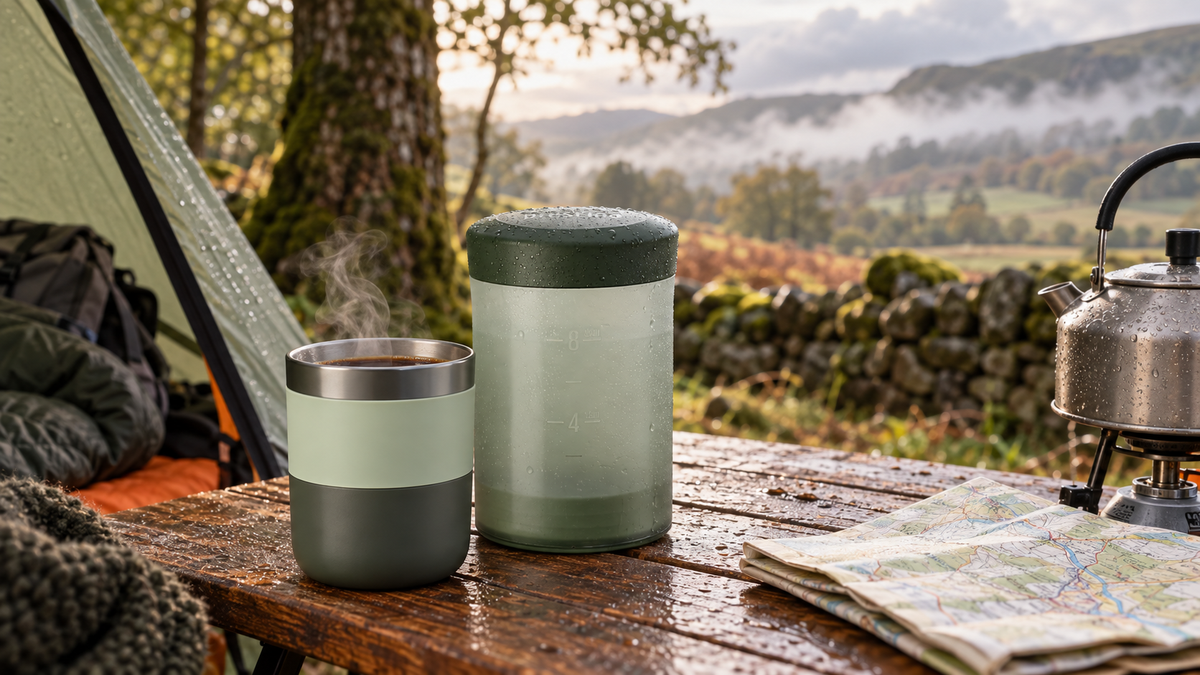
Cold air, a quiet campsite and the first cup of the day belong together. The only awkward part is choosing a camping coffee maker that suits the way you actually travel.
A brewer that feels perfectly compact beside a campervan can seem bulky halfway up a hill. A quick espresso maker may suit one person, while a simple coffee press can be easier for a slow breakfast outside the tent. The best choice is not the one with the longest feature list. It is the one you will happily pack, use and clean on your trip.
This guide explains the main options, what to compare and how to build a camping coffee setup without carrying half the kitchen.
What is the best coffee maker for camping?
The best camping coffee maker is compact enough for your luggage, compatible with the coffee you enjoy and simple to use with the water-heating setup you already carry. For most people, the decision comes down to a manual coffee press or a portable espresso maker.
- Choose a manual press if you enjoy a smooth, longer coffee and want a straightforward brewer with few separate parts.
- Choose a portable espresso maker if you prefer a shorter, more concentrated drink and do not mind carrying the accessories required by that model.
- Choose pre-ground coffee for the lightest and simplest setup.
- Add a travel grinder when freshly ground beans matter more to you than keeping the kit to an absolute minimum.
Start with the kind of trip
Camping beside the car
When the boot is only a few steps away, you have room for comfort. A portable brewer, grinder, insulated flask and proper mug can all earn their place. This is a good setup for family campsites, road trips and mornings beside the campervan.
Walking to your pitch
If every item must be carried, concentrate on the essentials: brewer, coffee, cup and safe way to heat water. Look for parts that nest together and avoid duplicate cups or containers.
Cabins, holiday cottages and hotel stays
You may already have a kettle and sink, so the priority becomes a compact brewer that travels cleanly. A protective case can help keep coffee equipment separate from clothes and electronics.
Manual coffee press or portable espresso maker?
A manual immersion press is forgiving and easy to understand. Add ground coffee and hot water, allow it to brew, then press according to the product instructions. Models that combine the brewer and cup can reduce the number of loose items in your bag. The Wacaco Prestina portable coffee press is an example of this compact approach.
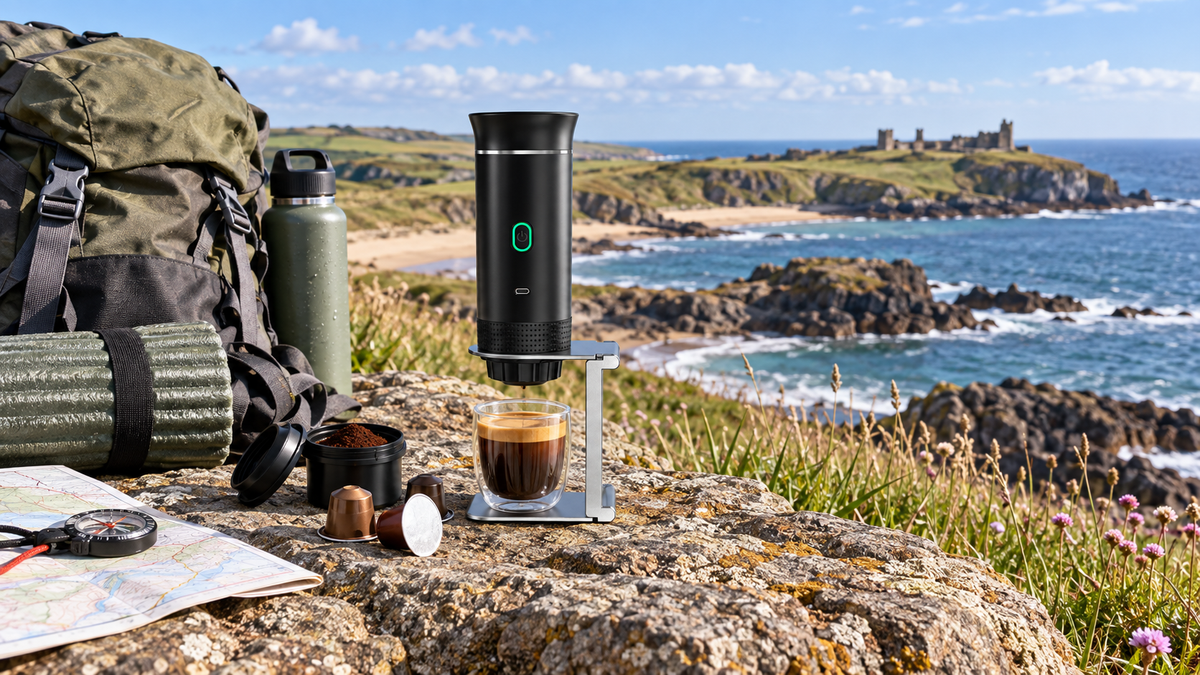
A heated portable espresso maker offers a different experience. It suits people who want a small espresso-style drink and value push-button convenience. Before choosing one, check its compatible coffee formats, charging needs, water requirements and the parts that need cleaning.
Neither type is automatically better. A press favours simplicity and a longer drink. A portable espresso maker favours a compact, concentrated cup. Choose around your preferred coffee, not around what looks most technical.
Seven things to check before buying
- Packed size: Measure the full kit, including the cup, coffee, filters or capsules, charging cable and any case.
- Weight: A few extra items feel very different in a car than they do in a daypack.
- Water: Decide how you will heat and measure it. Always follow the instructions for your stove, kettle and brewer.
- Cleaning: Think about where used grounds and rinse water will go. Pack out waste and follow campsite or local guidance.
- Coffee format: Check whether the brewer uses ground coffee, a specific capsule type or more than one format.
- Power: Battery-powered equipment needs to be charged before the trip. A manual brewer does not.
- Protection: If the brewer will share a bag with other kit, a fitted protective case can help keep everything organised.
A simple camping coffee kit
- Your chosen portable coffee maker
- Ground coffee or whole beans
- A manual or rechargeable grinder, if required
- Drinking water
- A safe, suitable method for heating water
- A mug, unless the brewer includes one
- A spoon or stirrer
- A sealable bag or container for used grounds
- A cloth for drying equipment before packing
For longer trips, an insulated travel flask lets you prepare hot water before leaving the car or campsite. That can make a scenic coffee stop simpler when setting up a stove would be inconvenient or unsuitable.
How to make camping coffee easier
Measure portions before leaving home. Keep the coffee, brewer and small accessories together. Test the complete setup in the kitchen once, including the clean-up, before relying on it outdoors. You will quickly notice if you are missing a lid, spoon, cable or sensible place for used grounds.
Most importantly, match the method to the moment. A one-minute roadside stop calls for a different setup from a slow campsite breakfast. The best camping coffee maker is the one that makes the pause better without making the journey harder.
Camping coffee maker FAQs
Can I use a portable coffee maker without electricity?
Many manual coffee makers only need ground coffee and hot water. You will still need a safe way to heat the water unless you bring it in an insulated flask.
Should I grind coffee before a camping trip?
Pre-ground coffee is simpler and lighter. Grinding at the campsite gives you more control over grind size and lets you prepare beans immediately before brewing. The right choice depends on space, time and how much the extra step matters to you.
How do I dispose of coffee grounds outdoors?
Collect used grounds and take them away with your other waste unless the campsite provides specific disposal facilities. Do not leave grounds, filters or capsules beside a trail or pitch.
Ready to build your setup? Start with a portable coffee press or compare it with our heated portable espresso maker. Find a view. Make a brew.

Leave a comment
This site is protected by hCaptcha and the hCaptcha Privacy Policy and Terms of Service apply.